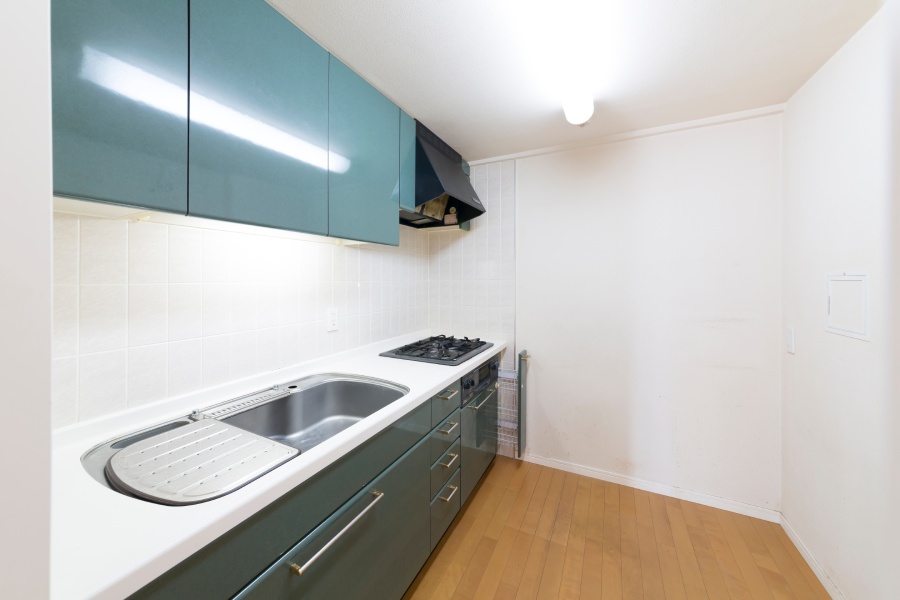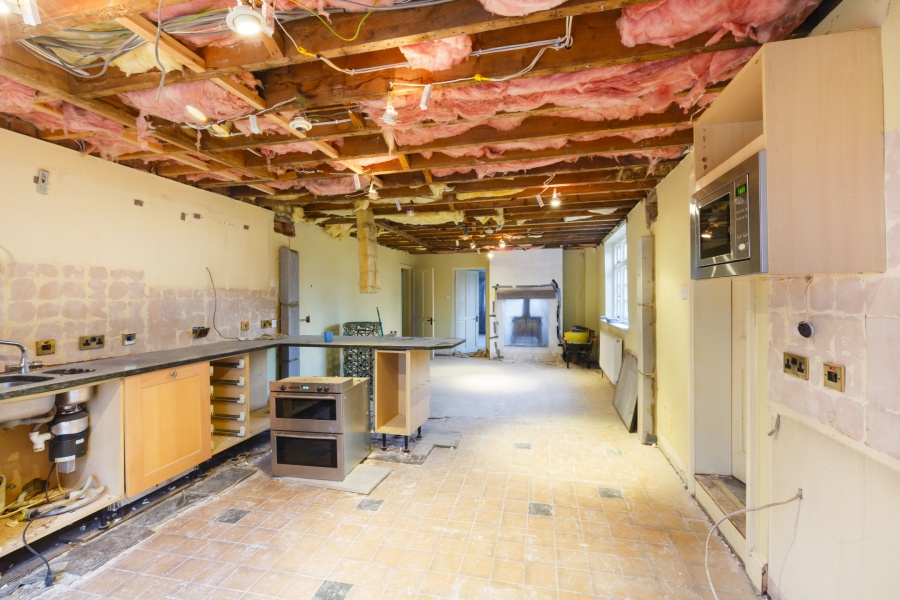
A kitchen makeover is not complete without removing the cabinets. The good news is that wall-mounted cabinets can typically be removed without causing any damage, allowing you to reuse the cabinets if you like. Remove all of your plates, pots, and pans from the cabinets to start setting up the space. After that, shut off the power and water to your kitchen. Disassemble the cabinets, remove each one from the walls one at a time, then remove the trim. You may simply remove these cabinets without hiring a professional if you have a little patience.

Step 1 – Clear out every cabinet
Before you begin the project, you must remove all of the dishes, silverware, pots, and pans that are kept in your cabinets. If they’re not stored securely, they could crack while being removed. They will also make the cabinets heavier and more difficult to remove.
Don’t simply set these things aside. They should be relocated to a completely separate room so they won’t be in the way.
If you’re remodelling a lot of your house, cover these things with a sheet. By doing this, dust and other particles won’t get on your possessions.
Step 2 – Cut off the sink’s water supply.
The countertop must be removed since base cabinets are typically attached to it. Turn off the water supply to your sink to avoid flooding because the first step in removing the countertop is pulling out the sink.
Look for a shut-off valve under the sink. On the side of the pipe leading to your sink, there is a metal knob like this. To cut off the water supply, crank this knob counterclockwise until it stops.
Always make sure the water is turned off twice. Make sure no water is dripping when you turn on your kitchen sink. If water is still coming from the sink after turning the valve further.
Step 3 – Turn off the room’s electricity.
You’ll have to work around electrical outlets while taking out the counters, and you might need to move some wires out of the way. Cut off the electricity to this area to keep yourself safe. Visit your home’s breaker box. Locate the circuit breaker that manages the electricity in your kitchen by opening it. The breakers should be marked with labels if they were put correctly. Your kitchen’s fuse should be turned to the “Off” position. Breaker boxes are typically found in the laundry room or basement.
Step 4 – Cover the countertops if you’re keeping them
If you plan to maintain the counters, cover them. Make sure it’s protected if you intend to preserve your countertop and use it with your new cabinets. To keep dust and other particles off of it, cover it with a heavy sheet. In order to prevent dents on the counter from tool drops, place a flat piece of wood on top of the blanket.
There is no reason to protect your countertop if you won’t be utilising it again. Allow it to deteriorate and become soiled as you work.
Step 5 – Remove any trim or molding on the cabinets
Take off any moulding or trim that is on the cabinets. It should be simple to remove decorative trim and moulding because they are typically only weakly fastened with staples or tiny nails. To remove these, use a crowbar or the hammer’s claw. Between the trim and the cabinet, insert the blade. Give the crowbar a couple whack with a hammer to force it into the crack if the space is limited. then use a pry bar to remove the trim.
Contact us to today if you need kitchen removal services.